About
ChucK Instrument Processing (CIP) facilities audio processing within ChucK.
CIP offers
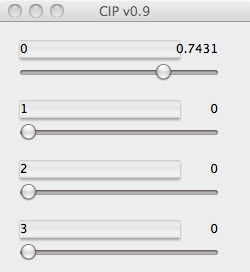
- Four audio busses
- Graphical gain sliders
- Signal level meters
- Audio effects
- Real time use
- Scoring use
Download
Get CIP via Github here.
Get CIP here.
Requires
CIP requires a current install of the MiniAudicle v0.2.0. Available free here.
CIP has been tested on OS X 10.4, 10.5 and 10.6.
Introduction
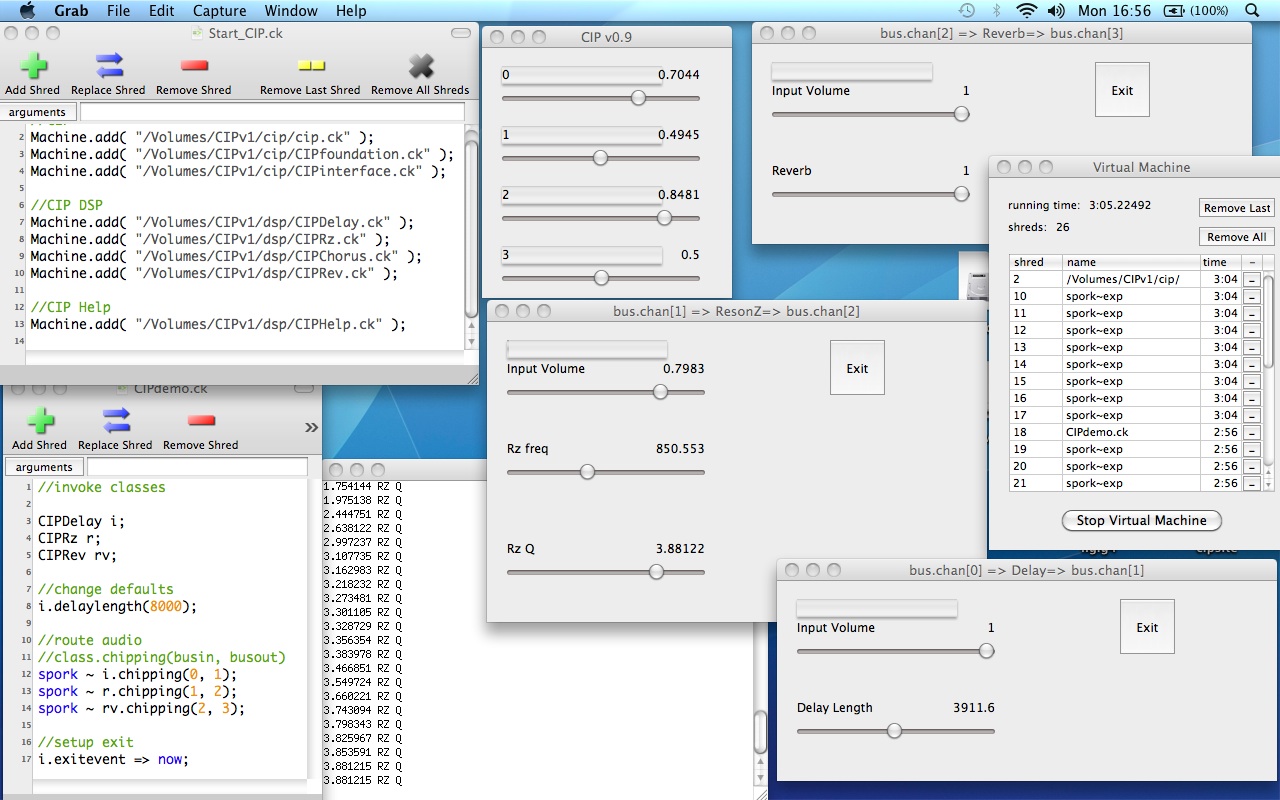
Quick Demo
Run Start_CIP.ck. For a demo run CIPdemo.ck.
Screenshots
Acknowledgement
The public class on which CIP behaviour is based was originally written by Kassen and is online here.
Video
Manual
CIP
Start_CIP.ck provides an easy way to include all current release CIP elements.
Once load the main CIP busses are available and controllable via the CIP interface and all CIP dsp processing is available.
CIP v0.9 features Delay, Reverb, Chorus and a resonant filter. These can be created as required and used in any part of the audio processing.
Example => A single delay
Create CIPDelay
CIPDelay i;
connect CIPDelay to audio busses input 0, output 1
spork ~ i.chipping(0, 1);
Exit code when exit button pressed
i.exitevent => now;
Note: delay length of CIPDelay can be changed using .delaylength(int)
Currently CIP has a delay CIPDelay, a resonant filter CIPRz, chorus CIPChorus and a reverb CIPrev.
Stand alone CIP Bus use
The basic CIP class (cip.ck) can be used alone to provide easy internal routing between active chuck code within the Virtual Machine (VM). Once the CIP code has been added to the VM the following 'busses' are available for use like other UGens.
bus.chan[0], bus.chan[1], bus.chan[2], bus.chan[3]
Note: by default, the default audio input is connected to bus.chan[0] while bus.chan[3] is connected to default output.
This allows more complex ChucK audio processing paths by passing audio between running shreds within the VM. More advantageous is the opportunity to develop modular ChucK code.
Example => Use
This code can be included into different files and executed in any order.
Connect bus to dac.
bus.chan[1] => dac;
Create sine wave, raise bus volume and route sine wave output to bus.
SinOsc s => bus.chan[1];
0.9 => bus.chan[1].gain;
1::day => now;
Note: 0.9 => bus.chan[1].gain; is required due to CIP defaulting all busses to 0 gain when created. Instead of this line of code, the slider could be manually moved.
CIP Development
cip folder contains all CIP elements.
cip.ck
Creates 4 audio busses and user interface.
adc => bus.chan[0] => blackhole;
bus.chan[1] => blackhole;
bus.chan[2] => blackhole;
bus.chan[3] => dac;
CIPFoundation.ck
Provides basic connectivity to busses.
function void connect(int, int)To connect an effect input to bus 0 and output to bus 1
function void connect(0, 1)
Provides ability to disconnect busses.
function void disconnect(int, int)To disconnect an effect input to bus 0 and output to bus 1
function void disconnect(0, 1)
Also provides effect gain input, exit button and input monitor.
CIPinterface.ck
Creates user interface sliders as required with title and range indicated.
function MAUI_Slider effectinterface(string, float, float)
CIP DSP Processing
dsp folder contains all CIP DSP processing elements.
CIPDelay.ck
in => Delay d => out;
call CIPDelay to use
Delay
- Delay length (default) 0 - 4000
- .delaylength(int) - change delay length (converted to ms)
CIPChorus.ck
in => Chorus c => out;
call CIPChorus to use
Chorus
- Modulation Frequency range 0.1 - 400
- Modulation Depth range 0.1 - 2.0
CIPRev.ck
in => JCRev rev => out;
call CIPRev to use
Reverb
- Dry/Wet 0.0 - 0.0
CIPRz.ck
in => ResonZ rz => out;
call CIPRz to use
Resonant Filter
- Filter Frequency range 100 - 2000
- Q range 0.0 - 5.0